Wednesday, February 22, 2012

Making Toddler Fleece Slippers


The first thing you want to do is cut the sole of your toddler's slip.  To do this you will want to measure his or her foot and add an extra inch in width and length.  Cut two pieces for each foot.

Also,  cut the letter "G" out so the length is equal to the sole of the slipper.  You will need two pieces of this for each foot as well.

Next, pin the two pieces together.


Sew all the way around the sole of the slipper for each foot.  The reason you want two pieces of fabric is to provide extra comfort and cushion for your toddler.


You can also sew along the outer edges of the "G" as well, leaving about an inch gap as space.  With this space you will want to turn the fabric inside out and sew the rest shut.


Position the fabric as shown below and apply velcro to them.  Sew the sole and the letter "G" together to make a slipper.


Here they are on my little girl!!

Wednesday, February 8, 2012

Sewing a Simple Cloth Headband

You can make a cute cloth headband for yourself, child or a friend with just a few materials.
You will need:
Fabric
Elastic
Scissors
Ruler
Marking Pencil
Sewing Machine

Start by measuring two pieces of fabric.  I cut my headband 15" x 3" but you can choose the thickness or thinness you wish to have.  You will also need another piece of fabric.  Cut this piece about 12" x 3".  These measurements are for a toddler's head. Make these measurements larger if you are making it for yourself.


After you have marked the fabric to the sizes you want, cut them out and lay them flat.


Fold the inner edges around your big piece of fabric and pin both sides on your larger piece of fabric.  With your smaller piece fold it in half lengthwise and pin it tight.  Sew the seams shut and make sure you take out all of the pins.


Turn the smaller piece right side out and slip the piece of elastic through.


Sew the end of the piece of fabric where the elastic ends.  It will look scrunched up like the piece below.


Next, fold both sides of your larger piece like pictured below.  Be sure to sew it so it is secured.  Don't worry if it looks messy, you won't be able to see this part..


Slip the elastic piece of fabric under the larger piece and sew shut.  Repeat on the other side as well.


Tada! Here is your new headband!


So cute!!! :) 


Monday, February 6, 2012

Making a Toddler Dress out a Shirt

Do you have old button shirts laying around?  Either flannel, cotton or any other material will work great in using these old shirts to make a dress for your little toddler...

First...find a shirt!


Next, cut off the arms and collar of the shirt..(my daughter threw in a drumstick in on the picture. haha. You can see her on the left side.)


Fold your shirt in half with the button on the inside of the dress.


Now, cut the "dress" which is still a shirt into a dress shape.  Make it smaller on the top and wider on the bottom as show below.


Now, open up the dress and lay the side with the buttons facing up and the other piece of the shirt right on top of it so both good pieces are facing each other.  Sew the two ends together.


Now you can use the sleeves that you cut off your shirt to make the straps.  Cut two triangle shapes like the first triangle in the next picture.  The 2nd triangle in the next picture is what it is going to look like when it's opened up.


Sew the two straps on inside out.  When you are done turn the dress to the right side.  The button part of the dress will be facing the back.


Tada!! A beautiful pink dress for my little girl!  The dress isn't perfect, but it is sewn with love!

Thursday, February 2, 2012

Sewing Toddler Pants out a T-shirt

Making a pair of pants for your toddler is easy.  All you need is an old t-shirt.  For this project I used one of my old shirts that are too small for me.  I tried selling the shirt at a rummage sale for 50 cents and couldn't sell it. Ha!  I had a great idea to make my daughter's pants out of my old shirt!

The first thing you will need to do is gather your supplies.
You will need:
 An old shirt
 A pair of pants that fit your child now (for the design)
Scissors
Elastic
Sewing machine


Now, you will need to lay the pair of pants like pictured below on your shirt.  Be sure to have the crotch area stick out towards the middle.


Cut out the pattern on both sides of your shirt so you have two outlines.


You will now have two pieces.


Open up your first pattern and lay the design side facing up.  You can open up your second pattern as well and lay this one right on top of the other, only lay the design side facing down.  The outside of what you want the pants to be should be touching each other. 


Now, sew the outsides of both edges as shown below.  Sew only up to where the crotch area ends.


You can see in the picture above that the seam of the pants is facing up and on the bottom side is facing down right in the middle.  Pick up the pair of pants so the seam is on the left and right, facing the sides, as shown below.  You can now tell that they are forming the shape of a pair of pants.  Pin the legs on both sides up to the crotch.


Sew the two legs and remove the pins.  You can now fold the waistline over.  This is the part where you will add the elastic.  Depending on what size elastic you have, will depend on how big you want to make the waistline.  On average, you should fold it down about 1 inch.


Pin and sew the waistline leaving about an inch open.  You can thread the elastic through the waistline now.


Now you will want to sew the elastic together and finally sew the rest of the waistline closed so your elastic stays put.


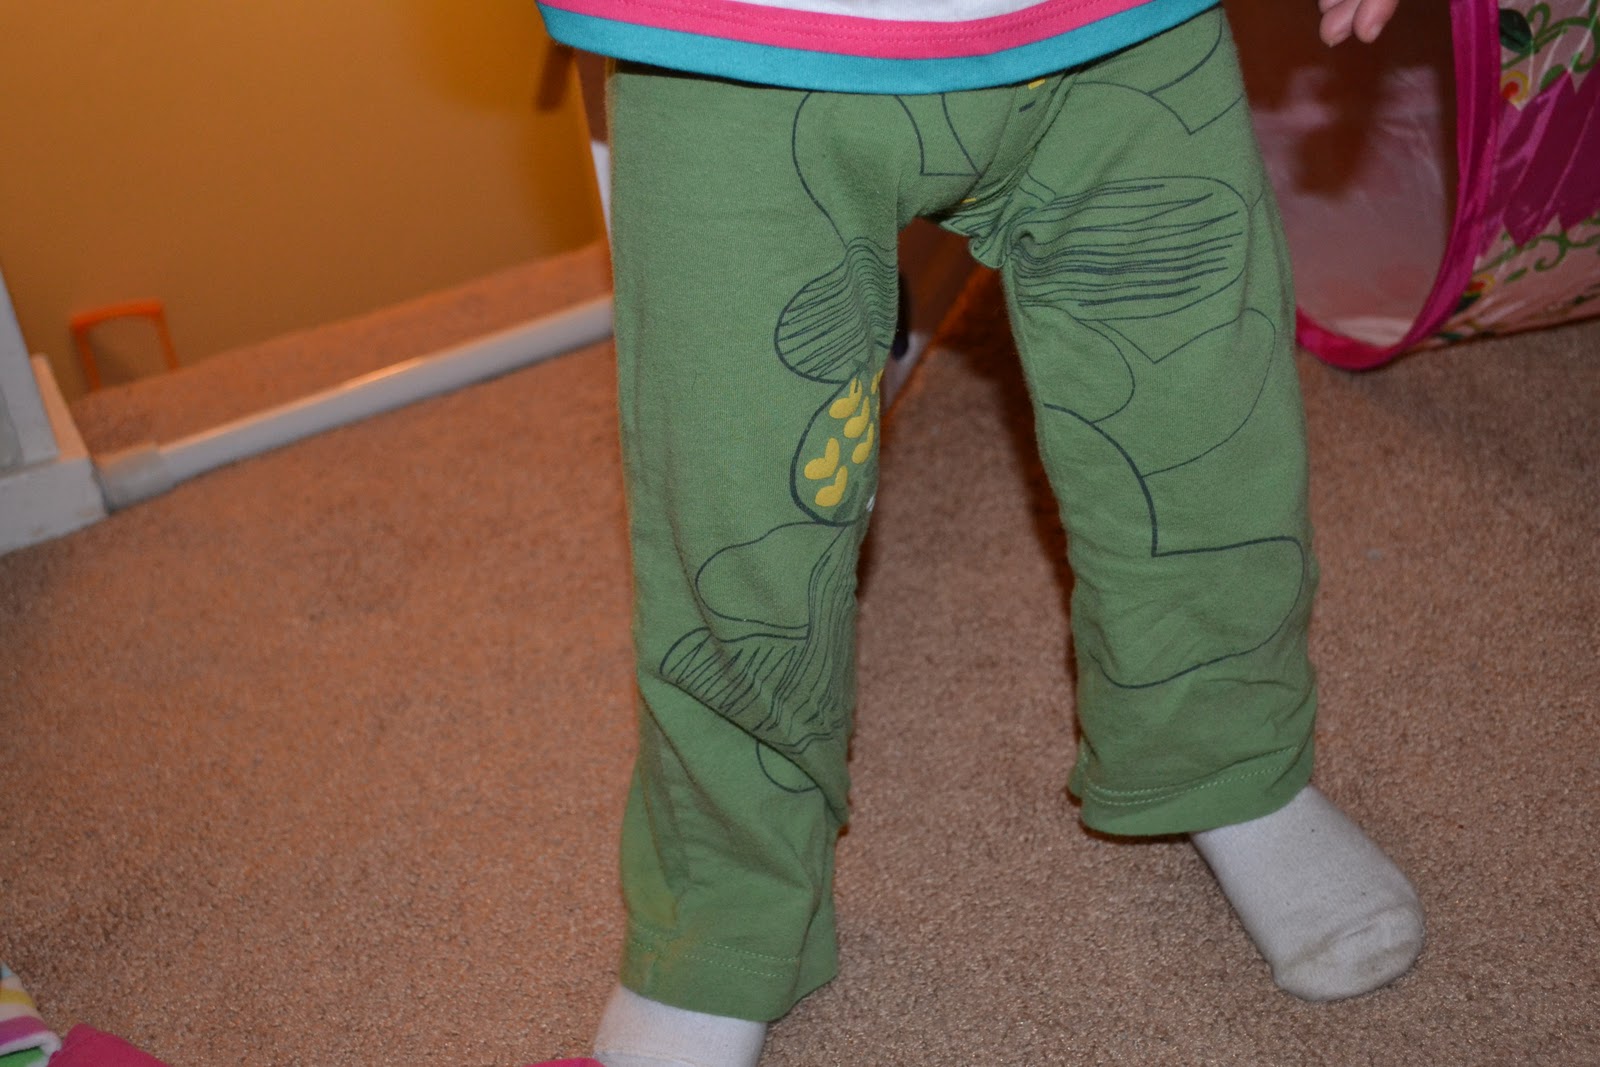
Turn your pants the right way and tada! You have just made your toddler a new pair of pants! 


My daughter did not want to try them on lol.  She was mad that she had to take a break from playing.  However, they turned out great!